Picswr has separate forward and reflected calibration windows / processes.
These are accessed via
Menu | Setup | SWR calibration | Forward power calibration
Menu
| Setup | SWR calibration | Reflected power calibration
If you are looking at this software for the first time, it would be useful to view and/or print he G3VPX default calibration information.

![]()
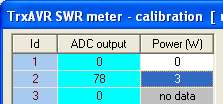
On switching to transmit, the LED-style ADC output
indicator comes to life.
on the wattmeter. (My first point was 0.34w)


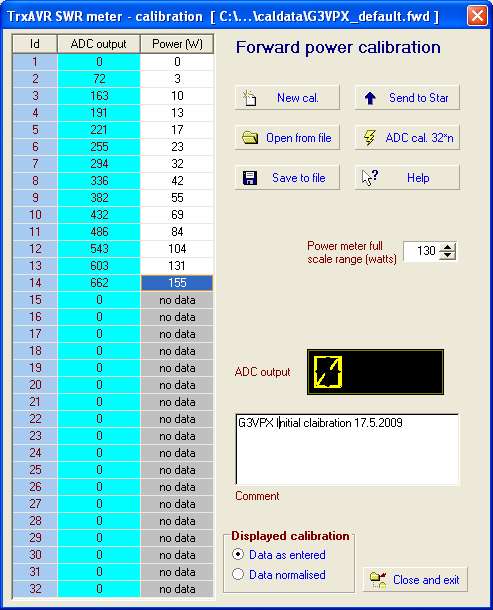
You should have well under 32 points. My initial calibration show above has only 13 points as above.
Normalising the calibration
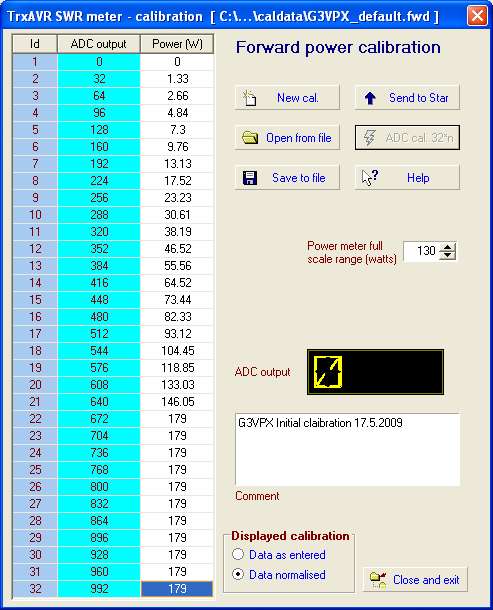
Hobcat has effectively 'drawn
a graph' using the initial points and then produced calibration points
at thirty two ADC steps of 32 units. (32*32 - 1 = 1023 - max ADC output for
a 10 bit ADC)
It actually also looks up the next adjacent power level (n+1) and uses simple linear interpolation between levels n and n+1 for improved accuracy.

You need to change this to a new filename for your calibration and then click then Save button.
You have no control over the file suffix:
Forward calibration files are all .fwd and reflected calibration files are all .ref.
When you save the calibration to disc, the filename is stored in the Windows registry and becomes
the default when you next open a calibration.
the forward and reflected windows.
- Click the
 button.
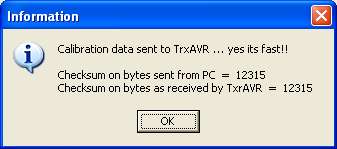
The calibration will be transmitted in less than a second followed by a confirmation message.
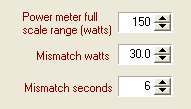
Mismatch watts and seconds - PA shutdown
The reflected power calibration
window has additional controls to configured PA shutdown protection
on prolonged mismatch.
The modified code uses the hitherto unused RA4 pin to disable PA bias.
If RA4 is low on receive, the bias remains
disabled on switch to transmit.
If RA4 goes low on transmit, the bias is disabled. If RA4 then goes high again,
the bias will not enable until switching to receive and then back to transmit.
If reflected power is less than specifed
Mismatch watts then no shutdown occurs.
If reflected power is just above Mismatch watts then shut
down occurs afte Mismatch seconds.
Higher relected power will cause shutdown to occur earlier than Mismatch seconds.
After shutdown and/or switch to transmit, there will be a short delay before
the PA can be restarted.
Reloading a saved Calibration
Open the forward or reflected
calibration window using:
Menu
| Setup | SWR calibration | Forward power calibration
or Menu | Setup |
SWR calibration | Reflected power calibration
Click ![]() and the file open dialog window appears:
and the file open dialog window appears:
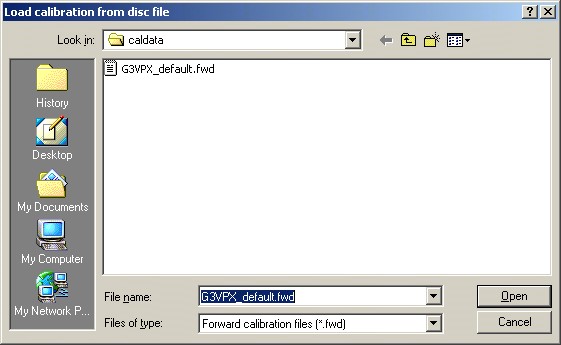
This defaults to your last saved forward or
reflected calibration.
Select your file and click Open.