TrxAVR_Picastar setup instructions - Configuring via USB
Hardware setup
Click Menu | Setup
| Hardware config The hardware
configuration window appears.
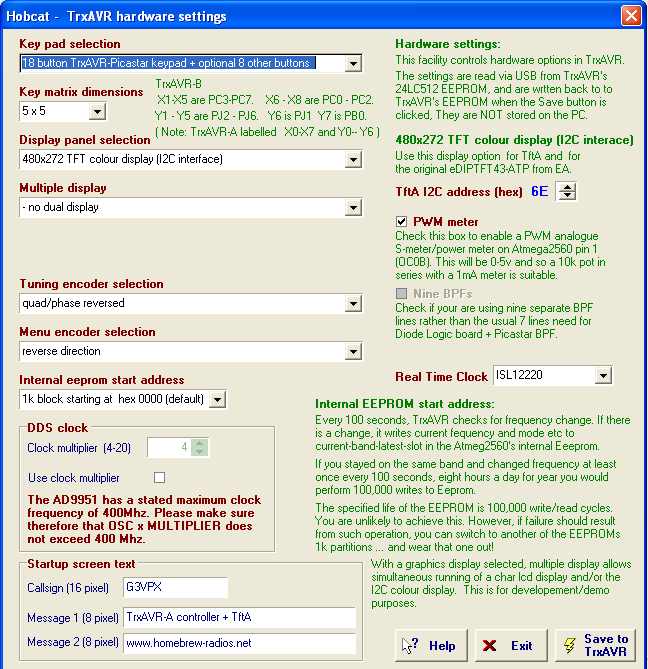
It is shown below configured for EA320 graphics + touch panel + 25 key pad.
You heed to configure it for your hardware by selecting from the drop down lists.
Please note that
the EA320 or equivalent display must be set to 8080 mode.
On the EA display, this invloves moving the 0R 1206 link from position J68 to
position J80.
There
was an earlier problem caused by selecting a colour TFT display in Hardware
Settings, when
no TFT display was connected. Recurrent I2C wait states delayed DSP load to
over 2 minutes
and USB communication was thereafter unreliable. (and you need USB to change
hardware settings!!)
This problem no longer exists: If the first write to the Tft display fails,
further comunication is abandonned
and DSP load and subsequent operation are normal (albeit wwith a screen display)
Finally click Save to TrxAVR.
Then restart TrxAVR ... your display and
key pad should be active.
As stated above, the display may shown zero frequency because no Power-on slot
data is yet loaded.
Setting your Star folder
In Hobcat, click Menu
| Setup | Star Folder.
Your will see the window below with C:\TrxAVR selected by default.
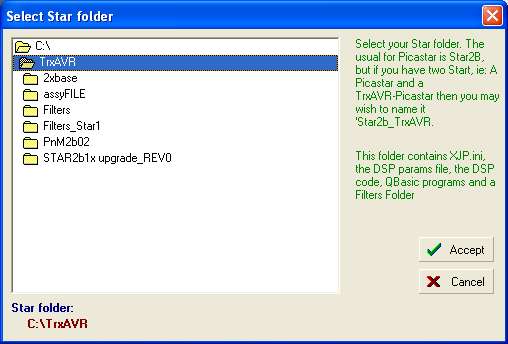
Accept C:\TrxAVR ... or change your Star folder is something different.
DSP parameter file
The default parameter file
is USER2b2.XJP. The location of this file is specified in
XJP.INI which is located in your Star folder.
Hobcat provides an editor
to change this filename entry in XJP.INI. The file must be preexisting.
Click Menu | Setup | Select DSP parameter
file. The following window appears:
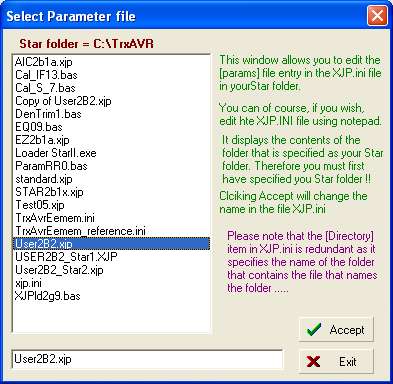
The file window shows all the files in your Star folder and defaults to User2b2.XJP.
DSP code and params to TrxAVR
Click Menu | Tools | DSP EEPROM loaders USB | Code and params to TrxAVR
The window shown below appears. Click Proceed
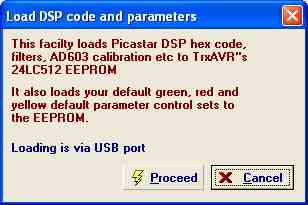
Code and params should transfer in under
3 seconds.
Then you should have the window below showing matching checksum values
and Params sent ok

Click Exit.
Click Menu | Tools
| DSP EEPROM loaders USB | AD603 calibration to TrxAVR
The following window appears:
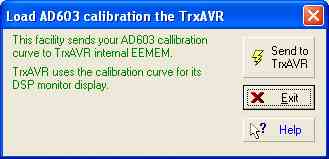
Click Send to TrxAVR.
Note that the AD603 calibration is sent to TrxAVR for use in the DSP monitor
gain displays.
It has no other use in TrxAVR and so is not used with a character or 128x64
graphics display.
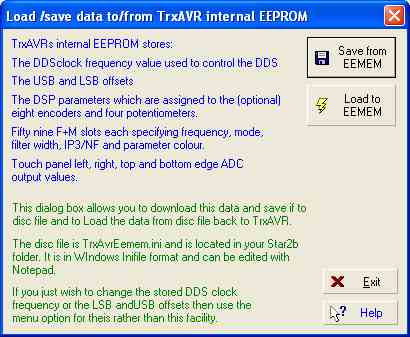
EEMEM data to TrxAVR
The ATmega2560's internal EEPROM contains:
This data is transferable to and from C:\TrxAVR\trxavreemem.ini
A default version of the file trxavreemem.ini was installed by HobcatSetup.exe.
Copy trxavreemem.ini from C:\Program files\hbradios\hobcat\trxavrcode to C:\TrxAVR.
Examine it if you wish by opening the file
in Notepad. It contains default data based on Picastar's defaults.
You may wish to change some slot data.
In Hobcat, click Menu | Setup | Load/Save EEMEM. The following window appears
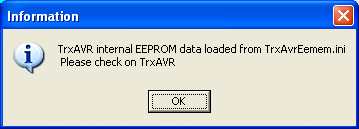
Click Load to EEMEM.
The following confirmation appears.
(The load is not error checked)
Restart TrxAVR-Picastar
You should see the default power-on frequency, 3727000 on both VFOs.
DDS clock and offsets
There are three ways to set DDS clock and LSB and USB offsets.
Using DDS 33, 31
and 37.
You can set DDS clock frequency and
LSB and USB offsets as directed in the
Picastar setup instructions, ie: using DDS[9]33,
DDS[9]31, and
DDS[9]37.
From
Hobcat
Click Menu | Setup | DDS
Clock, Offsets. The window below appeats:
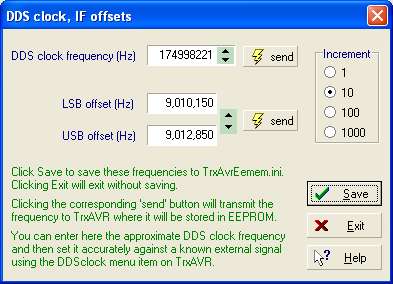
You can adjust clock and offsets, The offsets
move together and remain 2.7kHz apart.
Click send to send to TrxAVR-Picastar. Click
Save to save in trxavreemem.ini.
From TrxAVR_Picastar's
configuration menu
- Offset setting operates as DDS31 and DD37 in signal generator
mode.
- DDS clock setting does not switch to signal generator
mode
This allows you to calibrate
to a received signal of accurate known frequency.
SWR meter calibration
TrxAVR-Picastar, on transmit,
has a power meter which displays forward and reflected power and SWR.
Hobcat has a calibration facility for this power meter. This works via USB link.
Calibration profiles are stored in the PC and loaded via USB the TrxAVR-Picastar.
The final setup step is
to perform this calibration.
Please return to the menu and access the SWR meter pages